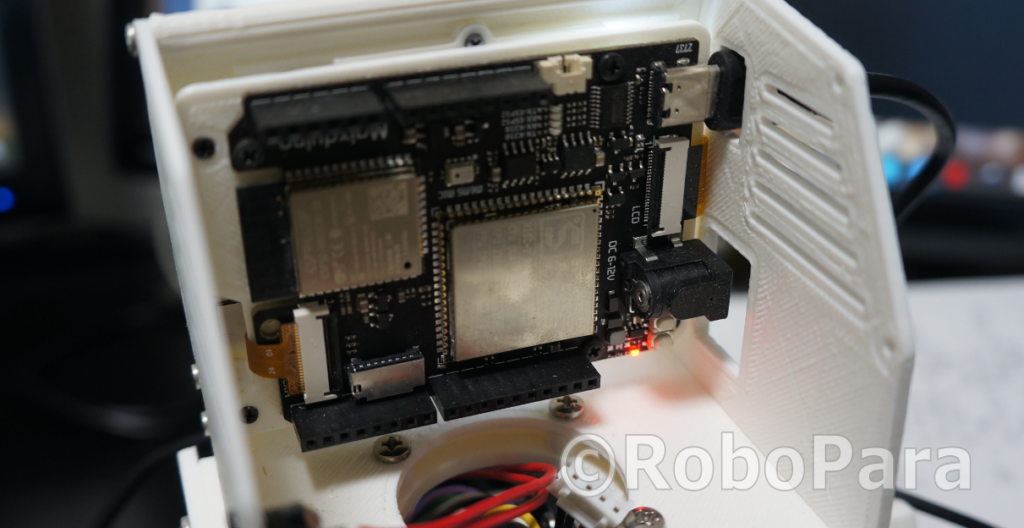
What is Maixduino?
Maixduino is an AI development board developed by SiPeed.
It has a K210 as a main processor and can be programmed with Arduino IDE and MaixPy (MicroPython).


On top of all the goodies, the most appealing thing with Maixduino is its “Pricing”.
Unlike the other AI development board, it only costs about $35!!!
It’s equipped with a camera, touchscreen, microphone.
It will be a good platform for testing deep learning algorithms, machine vision, and speech recognition, etc…
Why on PlatfromIO with VSCode instead of Arduino IDE???
Well…, I tried it on Arduino IDE and it did not work…
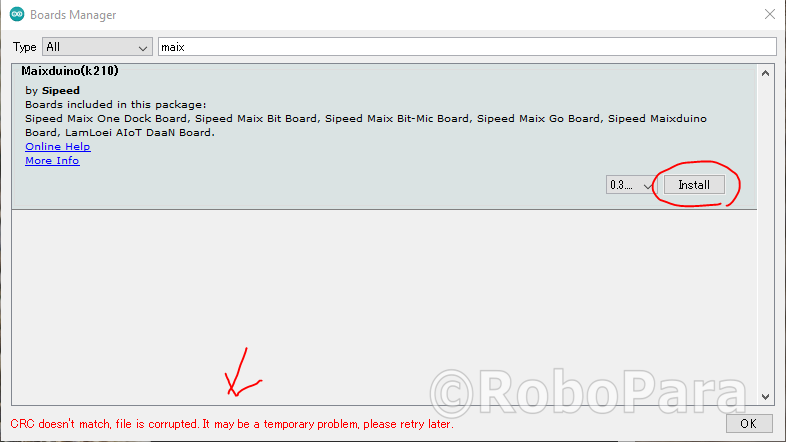
It kept generating an error saying “CRC doesn’t match”…
I also tried with different Jason URLs and still did not work…
I deleted all the unpacked packages inside AppData folder and re-installed…, still no luck.
It might start working again tomorrow…, who knows…
It did not work when I tried it.
I was planning to try on VSCode anyway, so it didn’t bother me much.
1.Install drivers if necessary
If necessary, install required driver to communicate with Maixduino.
When the Maixduino is connected with Win10 machine,
you should be able to see 2 serial ports in the device manager.

2.Installing Platform IO on VSCode
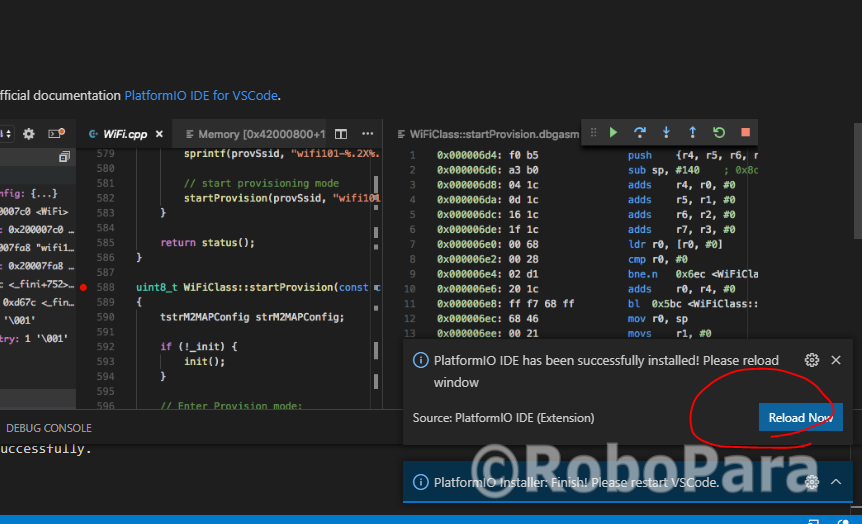
Go to extensions and look for “PlatformIO IDE” and install it.
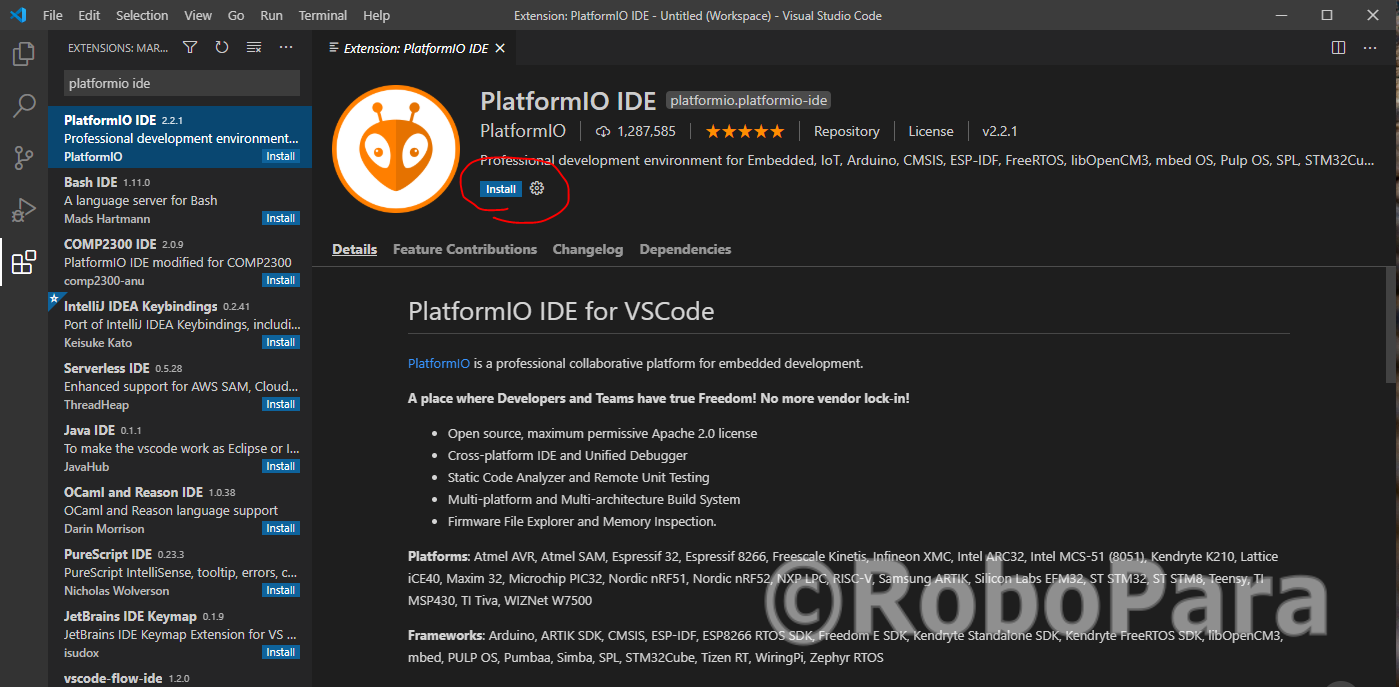
Reload the project when installation is finished.
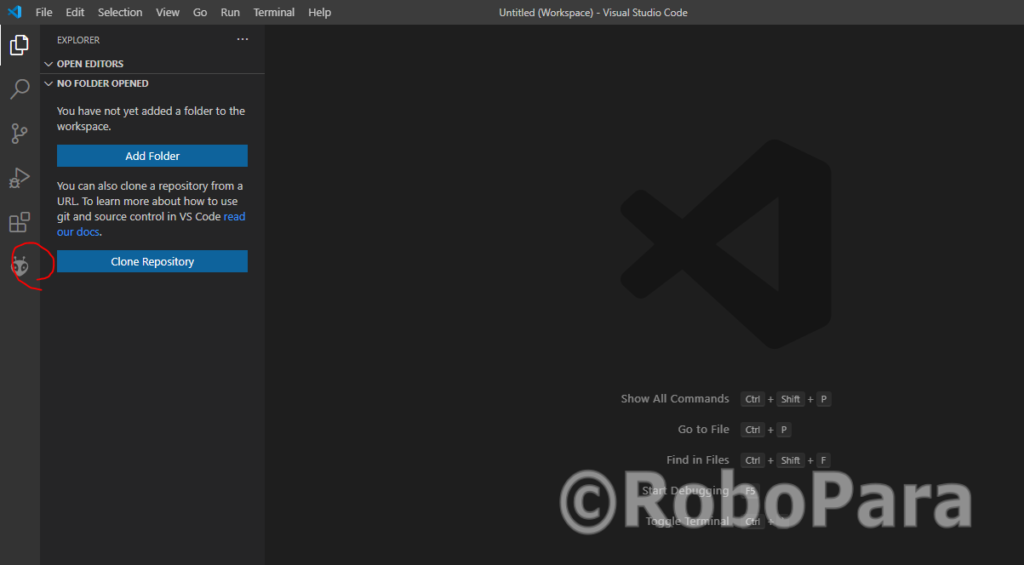
Click on the Platfrom IO Icon “Bug face”.
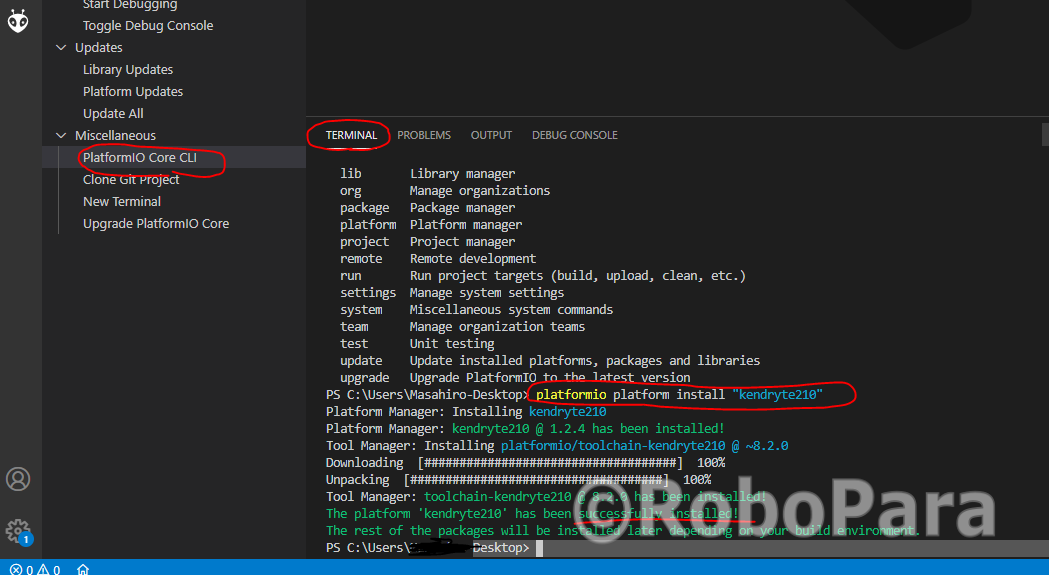
Under ”Miscellaneous”, click on “PlatformIO Core CLI” and Run new PlatformIO Terminal.
platformio platform install "kendryte210"
Run the command and install the PlatformIO.
3.Running Blink Example
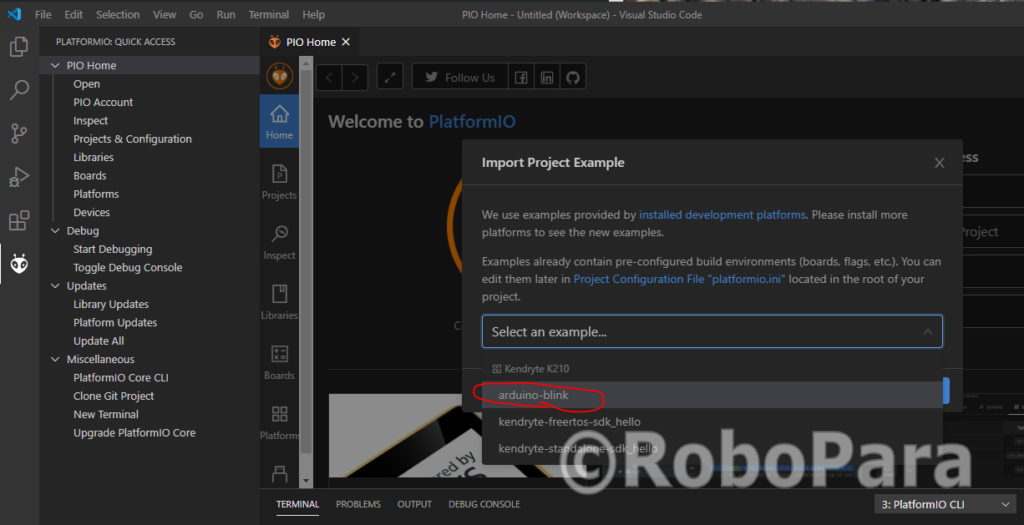
Click on PIO Home and go to project example.
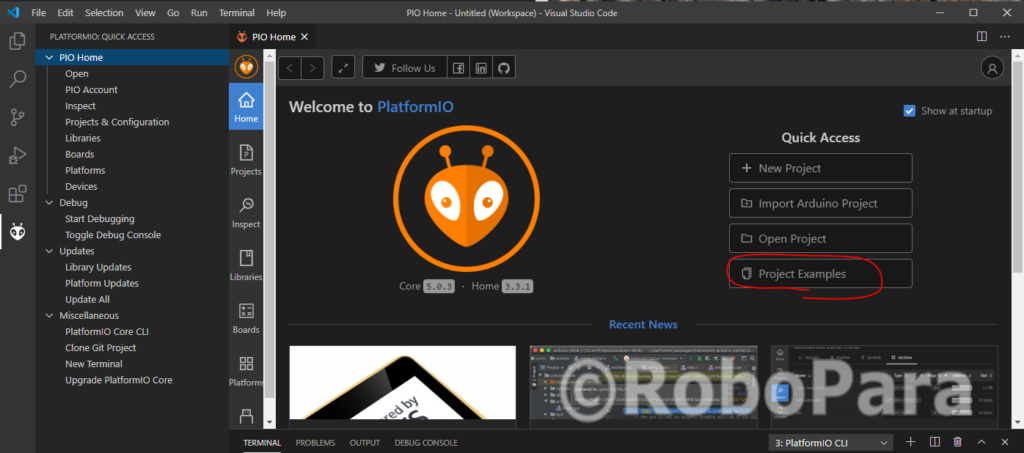
From the project example drop down, select arduino-blink example.
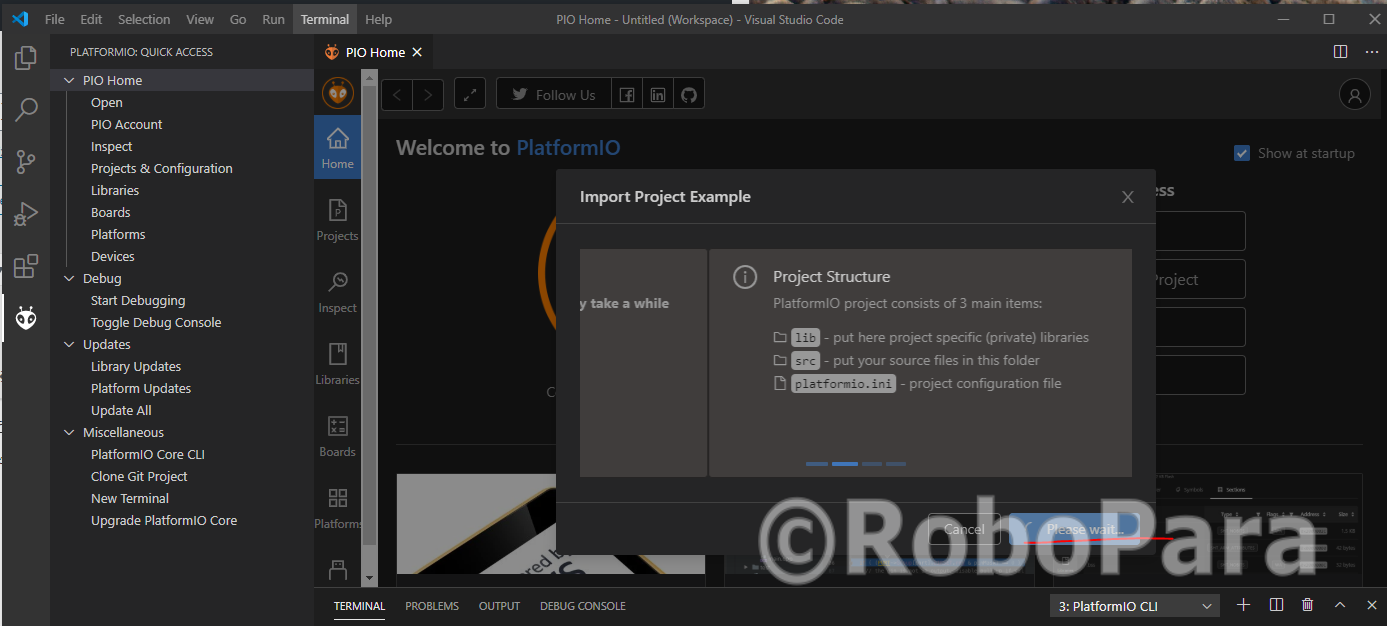
Wait for it to finish loading the project.
Edit “platformio.ini” file and change the setting to support maixduino.
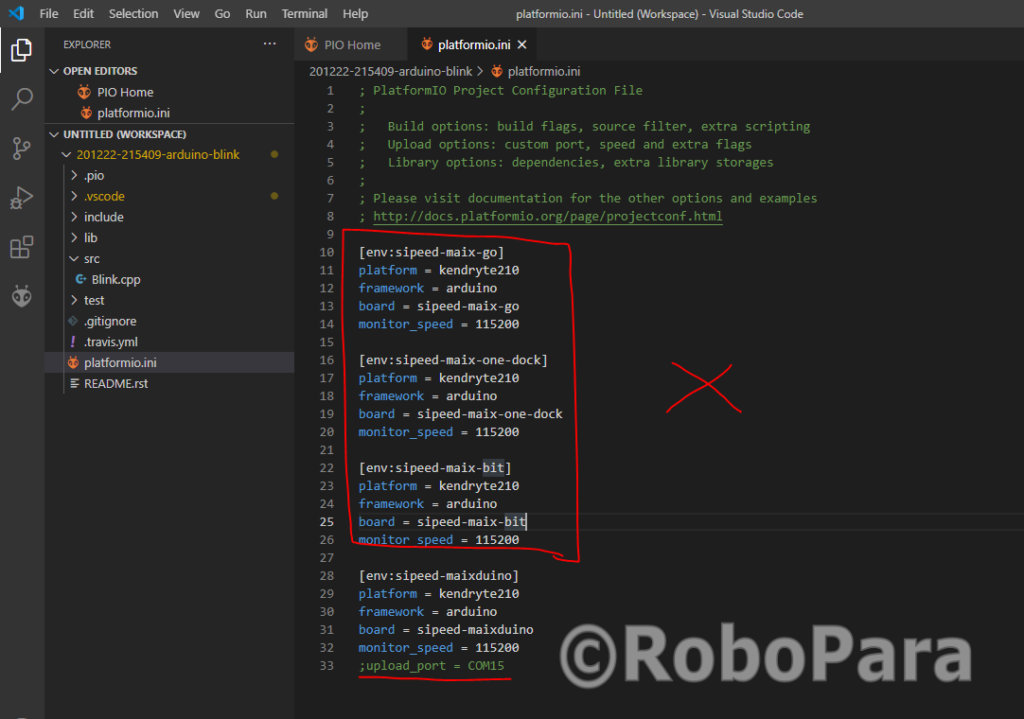
; PlatformIO Project Configuration File
;
;   Build options: build flags, source filter
;   Upload options: custom upload port, speed and extra flags
;   Library options: dependencies, extra library storages
;   Advanced options: extra scripting
;
; Please visit documentation for the other options and examples
; https://docs.platformio.org/page/projectconf.html

[env:sipeed-maixduino]
platform = kendryte210
board = sipeed-maixduino
framework = arduino
monitor_speed = 115200
upload_port = COM4
monitor_port = COM4
*Don’t forget setting the “monitor_port” and “upload_port”. If those are not set, it will look for the best port automatically, but no garantee that it finds the correct port…
*There are 2 serial ports on Maixduino. The port with younger number is the one you will wirte to. The other port is for communicating with ESP32.
Click on the “check mark” to build the project and click on the “Arrow mark” to upload the project onto Maixduino.
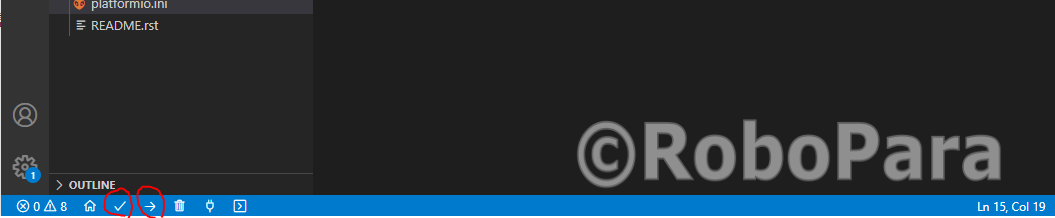
When finished, it should say “Sucess” on the terminal output.

Connect LED and check the output.