今回はUnityからROSメッセージをSubscribeして、Robovie-Zを操作してみます。
前回までは、

UnityからRos-sharpを使って、Robovie-Zを動かす! その①
今回は、UnityアプリからRobovie-Zを動かします。
前回までは、
1. Unityプロジェクトを用意
使用するUnityプロジェクトの、Edit→Project Setting→PlayerからA...
robopara.co.jp
2020.12.14
1. ROSメッセージモジュールを用意
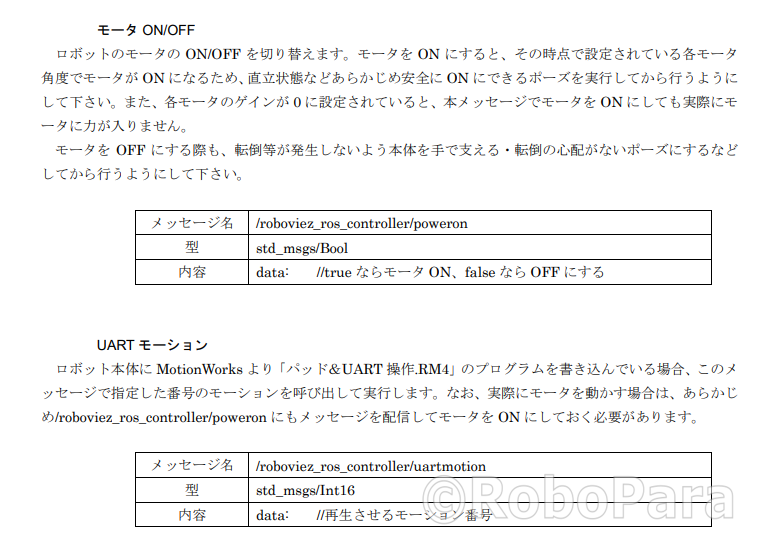
まずはRobovie-Z SDK で実装されているメッセージを確認すると、
AssetストアからRos-sharpをインポートした際には、
Standardメッセージ型はすでにプラグインとして実装されていましたが、
リポジトリからインポートすると、これらのスタンダード型メッセージは実装されていませんでした。
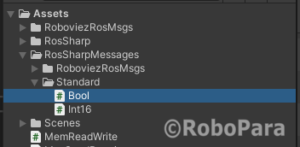
スタンダード型のメッセージモデルを、自分で作ります。
RosSharpMessagesフォルダの中にBoolとInt16というスクリプトを作り、
それぞれコードを書きます。
*フォルダ名が”RoboviezRos”から、”RoboviezRosMsgs”に変わってます。
*Namespaceも”RosSharp.RosBridgeClient.MessageTypes.RoboviezRosMsgs”に変えました。
namespace RosSharp.RosBridgeClient.MessageTypes.Standard
{
    public class Bool : Message
    {
        public const string RosMessageName = "std_msgs/Bool";
        public bool data;

        public Bool()
        {
            this.data = false;
        }

        public Bool(bool data)
        {
            this.data = data;
        }
    }
}
namespace RosSharp.RosBridgeClient.MessageTypes.Standard
{
    public class Int16 : Message
    {
        public const string RosMessageName = "std_msgs/Int16";

        public short data { get; set; }

        public Int16()
        {
            this.data = 0;
        }

        public Int16(short data)
        {
            this.data = data;
        }
    }
}
2.Publish用のコードを書く
MsgSendReceiveスクリプトにPublish用コードを追加します。
using System.Collections;
using System.Collections.Generic;
using RosSharp.RosBridgeClient;
using robovie_msgs = RosSharp.RosBridgeClient.MessageTypes.RoboviezRosMsgs;
using std_msgs = RosSharp.RosBridgeClient.MessageTypes.Standard;
using UnityEngine;

namespace Roboviez
{
    public class MsgSendReceive : MonoBehaviour
    {
        private RosConnector rosConnector;
        private readonly int SecondsTimeout = 3;

        private string subscription_id;
        private string publication_id_poweron;
        private string publication_id_uartmotion;

        private bool isPoweron = false;

        // Start is called before the first frame update, here the connection with ROS is established and the tipics are defined
        void Start()
        {
            rosConnector = GetComponent<RosConnector>();

            if (!rosConnector.IsConnected.WaitOne(SecondsTimeout * 1000))
                Debug.LogWarning("Failed to subscribe: RosConnector not connected");

            subscription_id = rosConnector.RosSocket.Subscribe<robovie_msgs.IMU>("/roboviez_ros_controller/imu", SubscriptionHandler, (int)(1 * 3000));
            publication_id_poweron = rosConnector.RosSocket.Advertise<std_msgs.Bool>("/roboviez_ros_controller/poweron");
            publication_id_uartmotion = rosConnector.RosSocket.Advertise<std_msgs.Int16>("/roboviez_ros_controller/uartmotion");
        }

        // Update is called once per frame
        void Update()
        {
            if (Input.GetKeyDown(KeyCode.P))
            {
                isPoweron = !isPoweron;  //toggle the value

                std_msgs.Bool pwr_msg = new std_msgs.Bool()
                {
                    data = isPoweron    //UNITY message for ROS
                };

                rosConnector.RosSocket.Publish(publication_id_poweron, pwr_msg);
                Debug.Log("Sent Poweron message to ROS:" + isPoweron.ToString());
            }

            if (Input.GetKeyDown(KeyCode.Alpha0))
            {
                publishUartmotion(0);
            }


            if (Input.GetKeyDown(KeyCode.Alpha4))
            {
                publishUartmotion(4);
            }


            if (Input.GetKeyDown(KeyCode.Alpha5))
            {
                publishUartmotion(5);
            }

            if (Input.GetKeyDown(KeyCode.Alpha6))
            {
                publishUartmotion(6);
            }
        }

        private void publishUartmotion(short motionNumber) {
            std_msgs.Int16 uartmotion = new std_msgs.Int16()
            {
                data = motionNumber
            };

            rosConnector.RosSocket.Publish(publication_id_uartmotion, uartmotion);
            Debug.Log("Sent animation request to ROS:" + uartmotion.data.ToString());
        }

        private static void SubscriptionHandler(robovie_msgs.IMU message)
        {
            Debug.Log(message.temperature);                    //print ROS's message to unity
        }
    }
}
3.プログラムを実行
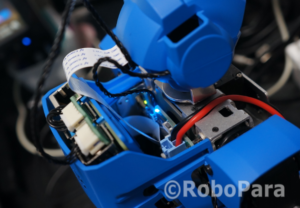
CPUがONになっていることを確認して、
ターミナルを開いて、ROSにログインし、RosBridgeServerを起動。
roslaunch rosbridge_server rosbridge_websocket.launch
別ターミナルから、roboviez_ros_controllerを起動。
rosrun roboviez_ros_samples roboviez_ros_controller.py
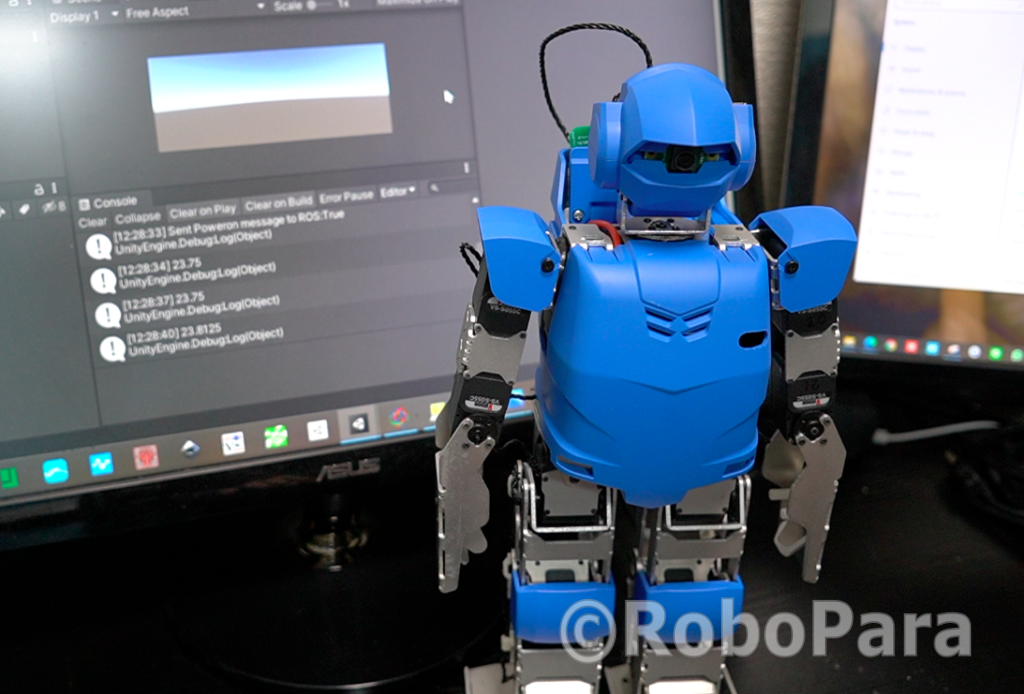
Unityでアプリを実行すると!?
キーボードのキーを入力するだけで、Robovie-ZのサーボON/OFF、
アニメーションの呼び出しができるようになりました!