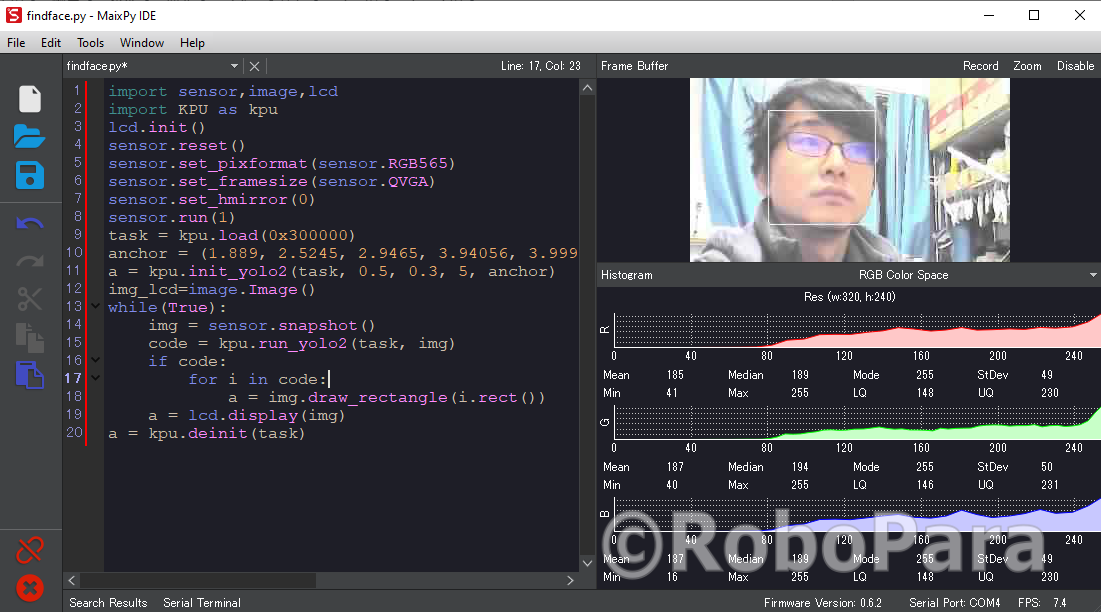
I’m going to show you how to install MaixPy onto a Maixduino and run a sample program.
I’m currently considering a Maixduino as a main brain of my new smart AI robot.
In the last few posts, I’ve tried running on Arduino code on Maixduino using PlatformIO.
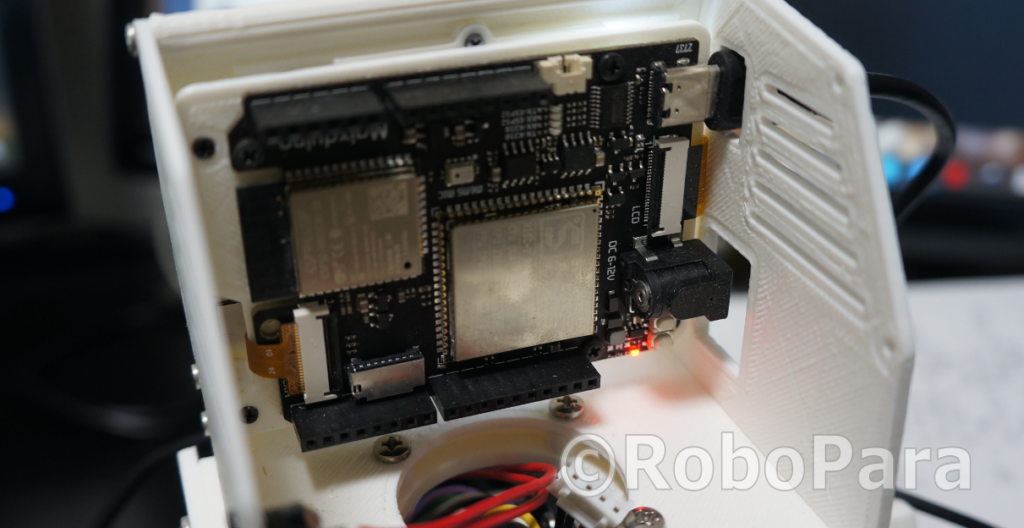
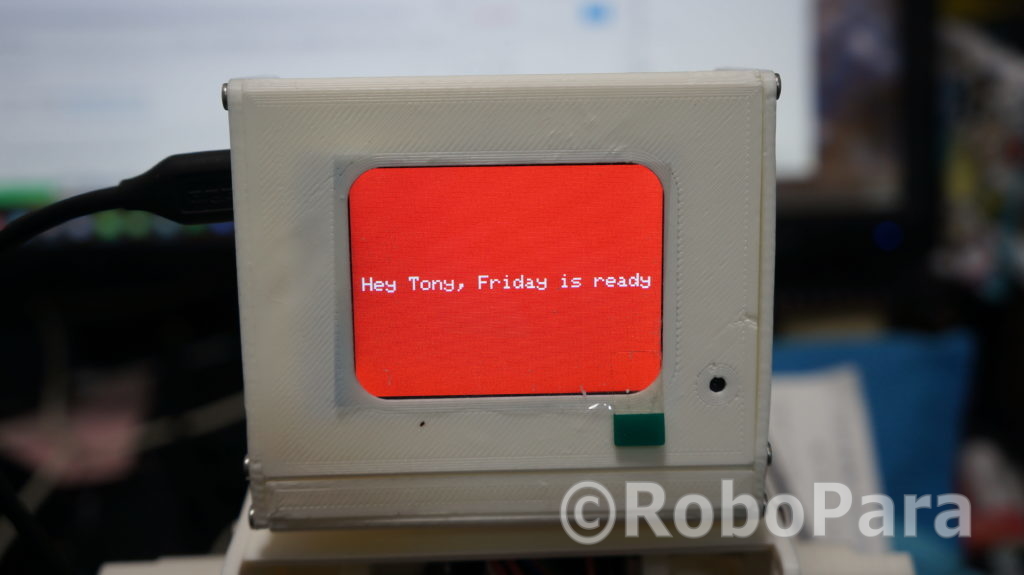
While I was working with Maixduino with PlatformIO, I found more documentation on MaixPy than Arduino coding…, so I decided to try MaixPy as well.
If you are a more advanced in programming and planning to modifying the source code to fits your needs, Arduino C++ source and library may fit your needs better though…
You can find manuals from Sipeed website as well.
– How to install firmware
https://maixpy.sipeed.com/en/get_started/upgrade_firmware.html
– How to install MaixPy IDE
https://maixpy.sipeed.com/en/get_started/maixpyide.html
Please install a driver if necessary.
https://maixpy.sipeed.com/en/get_started/install_driver.html
Here are some other posts related to MaixPy and Maixduino.
Maixduino/MaixPy| RoboPara
1. Uploading a latest Firmware onto Maixduino
1.1 Downloading a latest Firmware
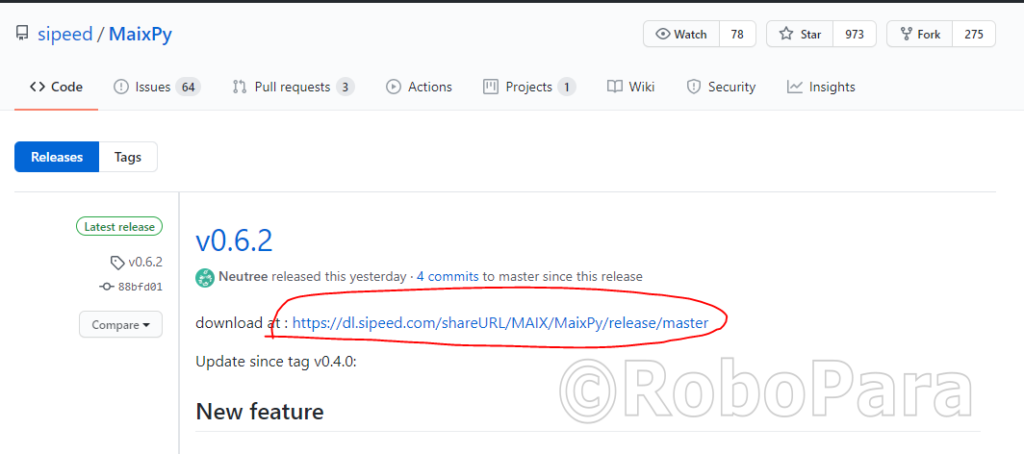
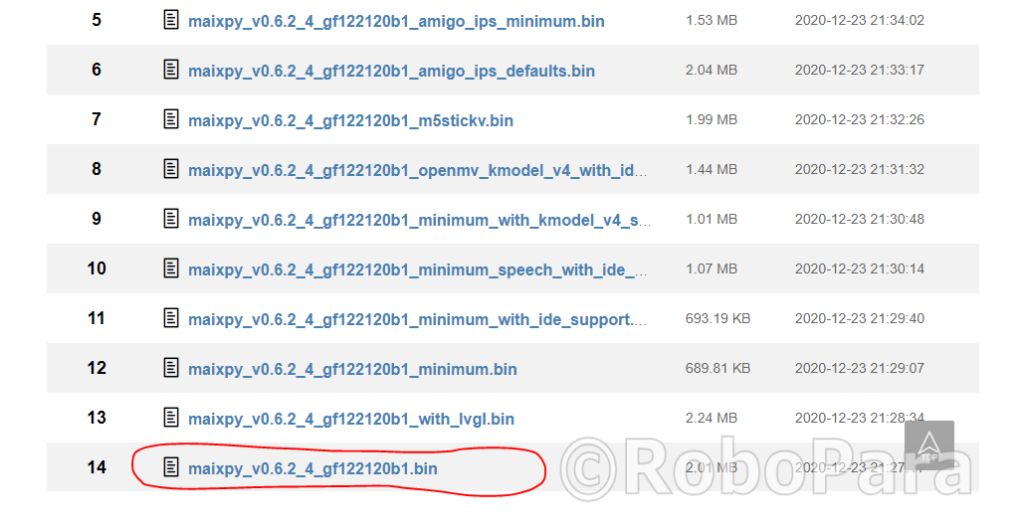
Please download firmware from Sipeed website.
https://github.com/sipeed/MaixPy/releases
1.2 Uploading the Firmware using Kflash-Gui
Please download kflash-gui from the link below.
https://github.com/sipeed/kflash_gui
*You may see your unti-virus software starting to screem… It happended to me a few month ago. If that’s the case, you can use command line tool as well.
https://github.com/kendryte/kflash.py
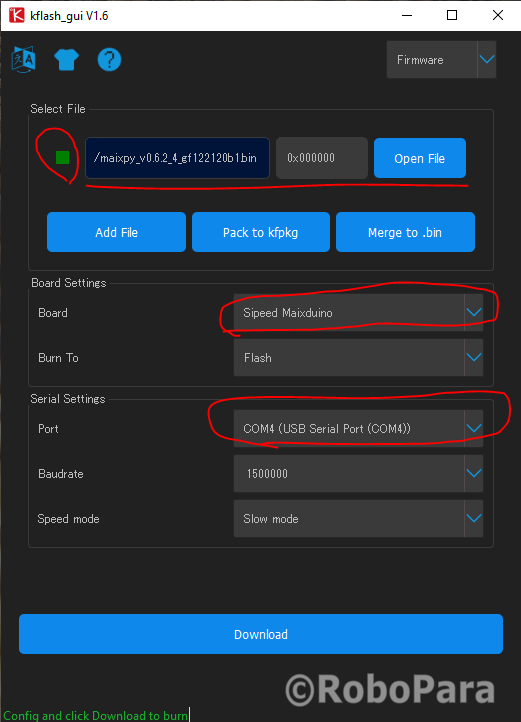
Start the kflash and open the firmware.
Select the comport (there are 2 comport available, pick the smaller numbered comport. The other one is for ESP32). Then press download button.
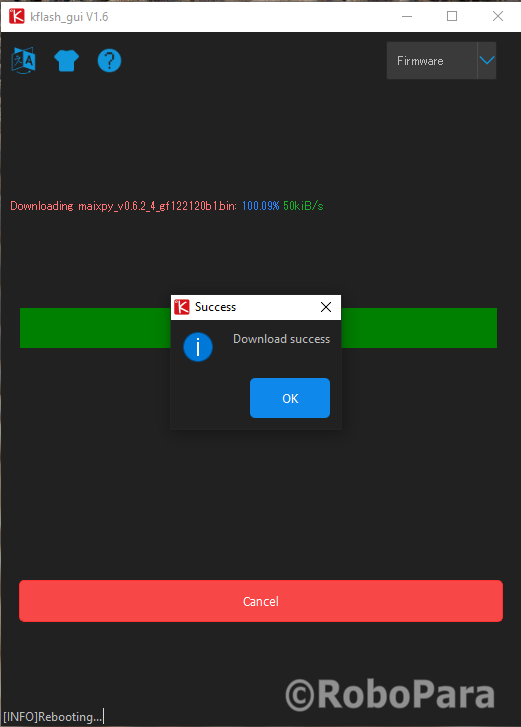
When finished it should say “Success”.
1.3 Load face model
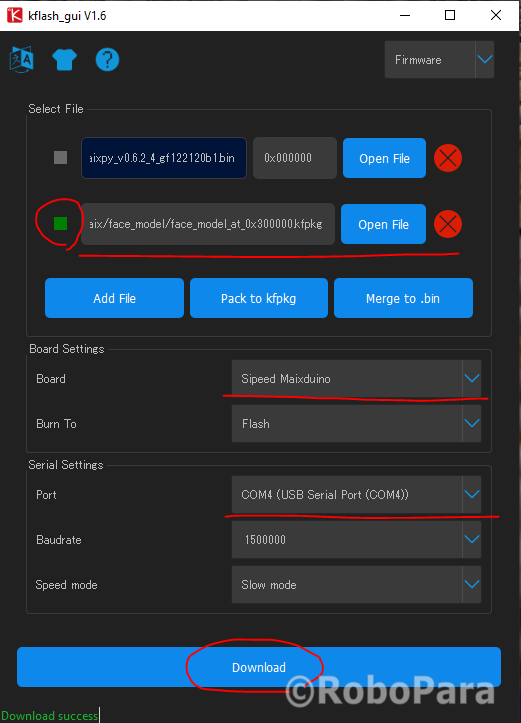
If you are planning to run face recognition samples, please upload face model as well.
You can download the face model from the link below.
https://dl.sipeed.com/MAIX/MaixPy/ide/
2.Writing programs using MaixPyIDE
2.1 Installing MaixPyIDE
You can download installers from the Sipeed website.
https://dl.sipeed.com/MAIX/MaixPy/ide/
2.2 Checking the MaixPy from the terminal
Open terminal.
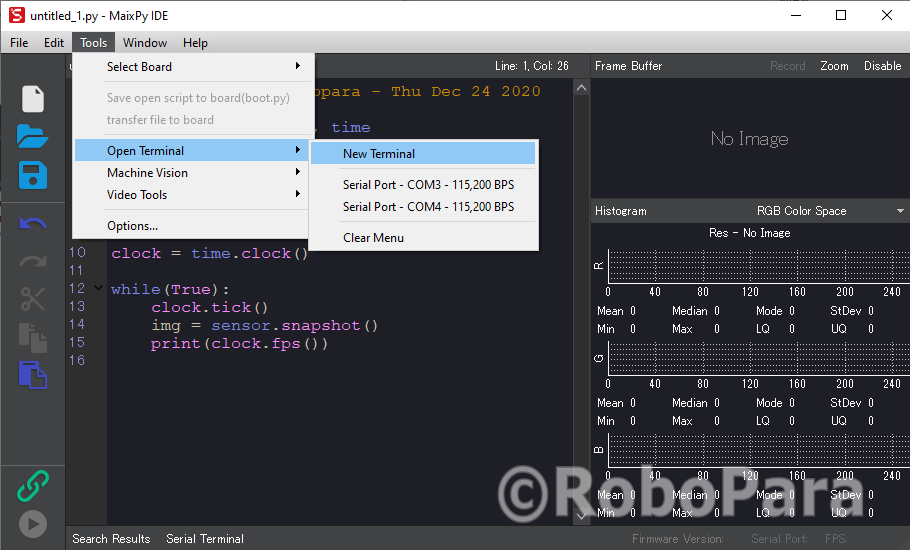
Select the port and baudrate then connect to your Maixduino.
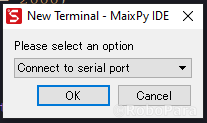
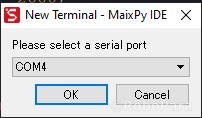
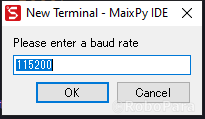
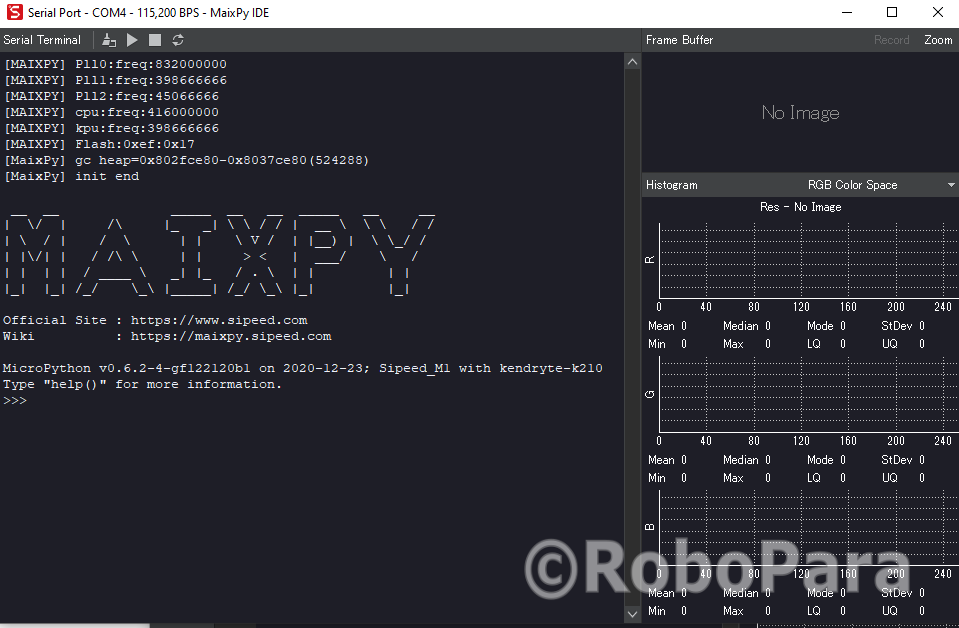
If the MaixPy firmware was upladed correctly, you should see maixPy welcome screen.
Close Terminal!
*You can only establish one connection with Maixduino at a time.
2.3 Writing test code to Maixduino
Open MaixPy IDE and click on the new file button on top left.
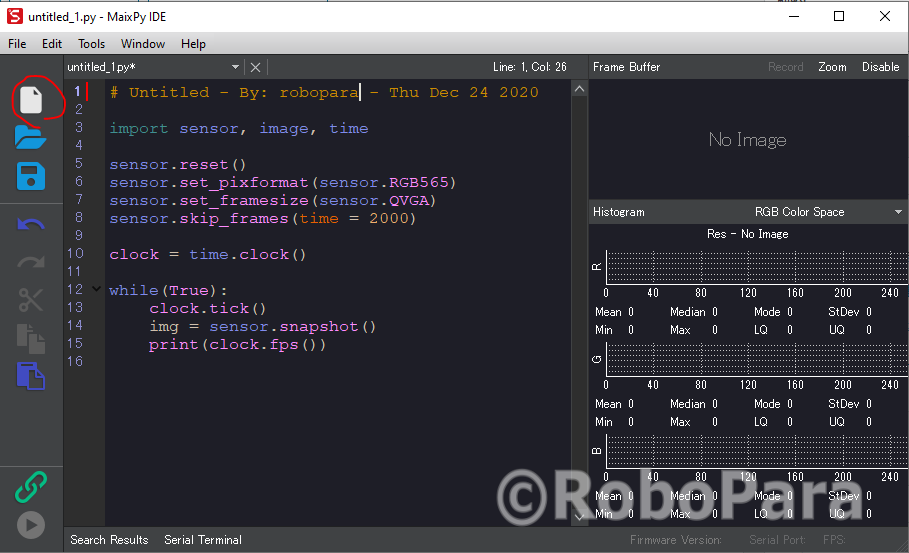
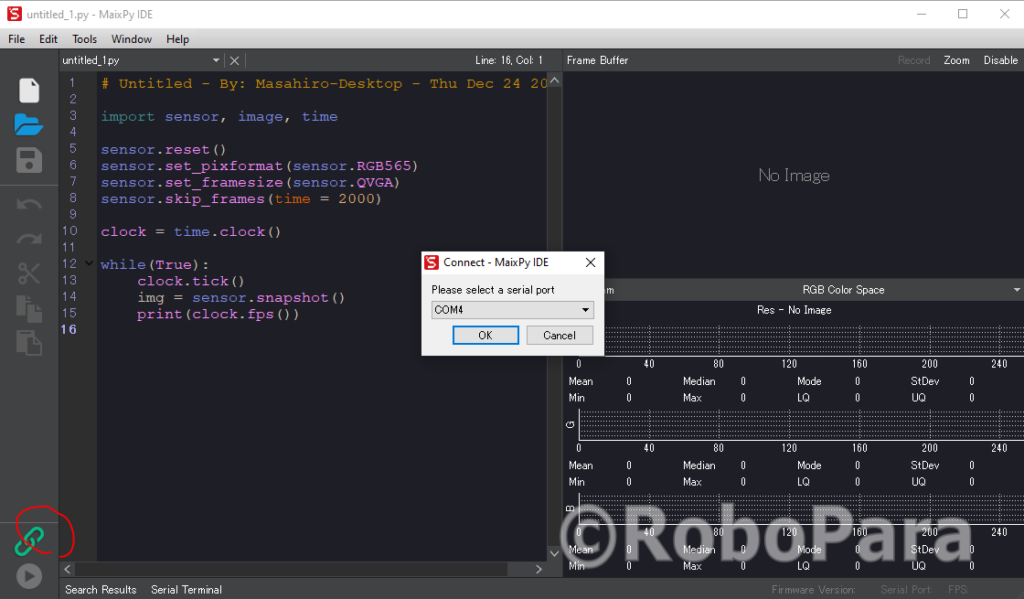
Click on the left bottom button and establish the connection with your Maixduino.
Click on the run button below the connect button.
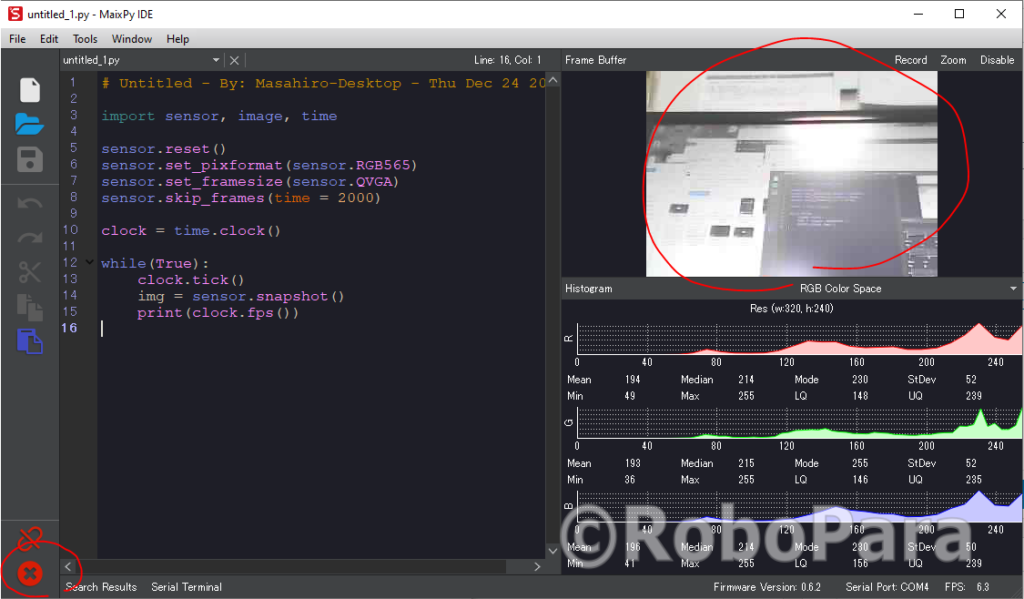
If successful, you shall see the camera image (realtime) on the Top right.
MaixPy is based on MicroPython and very easy to work on AI related implementations such as Face recognition, Speech recognition, Deep Learning, etc…
I’ will keep posting MaixPy and Maixduino related contents here for the next few month.
Stay Tuned!

